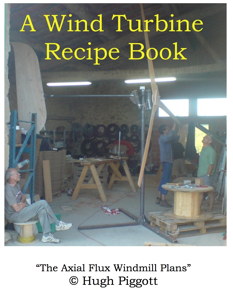
by Hugh Piggott
65 pages, describing how to build 6 different sizes of wind
turbine. How to carve the wooden blades, weld the frame and wind
the coils for 12, 24 and 48 volt battery systems. Build
your own alternator using powerful Neodymium magnets and
generate useful amounts of electricity on a suitable site.
The turbines furl automatically to protect themselves against
high windspeeds. Hundreds of turbines have been built to
these designs around the world. More details here.
Buy the 2013 EDITION in hard copy direct from me using Paypal
below. Some prices include international delivery by
airmail, and this usually takes about 5 days. However it can
take a little longer for areas with poor postal services. We
do not offer tracking information. We find this method of
delivery very reliable. Choose the edition that supports
your local suppliers' units of measure, and take care to select
your delivery zone option from the drop-down menu.
The Recipe Book has been translated into many other languages - see further down the page for links to buy
these translations. ebooks
are also available from smashwords,
amazon
and scribd.
"I purchased your book about 18
months ago and couldn't put it down when I received it, and
have read through it almost a dozen times now."
"Your book arrived yesterday, I am thrilled with it, lovely
presentation, very well illustrated for a practical man. Thank
you"
|
The latest Metric
units edition. Please
choose your delivery address option in the drop down
menu. Euro pricing is to the right (european delivery
only). This Metric edition uses metric measures of wire size and the magnets are 46 x 30 x 10 mm. It is bought mostly by people who do not live in America. |
|
|
|
|
|
The latest American
units edition. Please choose
your delivery address option in the menu. Dollar
pricing is to the right (worldwide delviery only). This "English units" edition is for American readers who will buy 2" x 1" x 1/2" magnets and AWG wire sizes. Canadians mostly also choose this. ebook here |
|
|
|
|
 KINDLE 2010 EDITION FROM AMAZON (ALSO AVAILABLE FROM .CO.UK .DE .FR ETC.)
| TRANSLATIONS AVAILABLE FROM THE TRANSLATORS DIRECTLY by clicking on the cover images I DO NOT HOLD ANY STOCK OF THE TRANSLATED EDITIONS, SO PLEASE DO NOT SEND ME PAYMENTS FOR THESE |
||||
FRENCH |
|
|
|
GERMAN |
|
of Recipe Book in French  le manuel de construction de l'éolienne PIGGOTT a pris un coup de jeune. Nous l'avons entièrement re rédigé, actualisé, agrémenté de nouveaux visuels, avec plus d'annexes et des compléments sur l'installation électrique et la fabrication du mât bref, vous ne le reconnaîtrez |
CÓMO
CONSTRUIR
UN
GENERADOR EÓLICO 2009 plans |
Windturbine
Receptenboek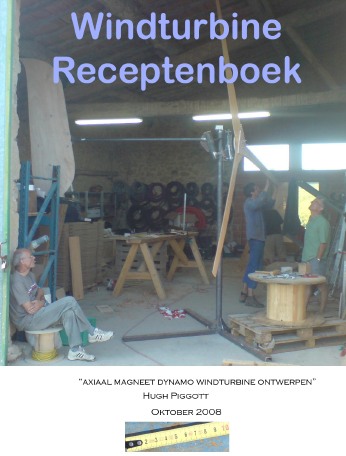 Dutch translation "Hello hugh, I have just received the book in good order. (Thursday, 17/12/2009) by peter in the netherlands It is a clear book, which I enjoy going to use. I would therefore like to thank you for the fast and smooth handling." |
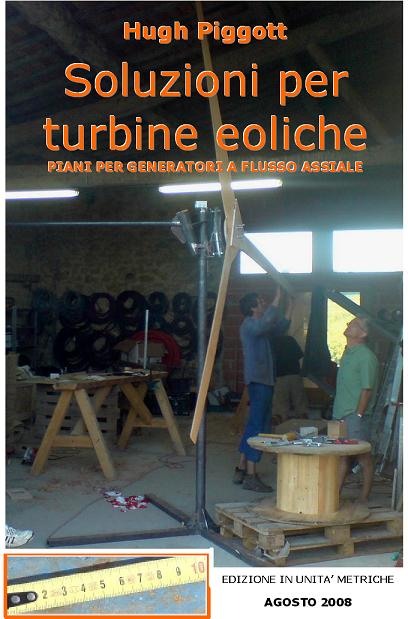
TRADUZIONE
ITALIANA |
|
HUNGARIAN |
KISWAHILI |
|||
 RETURN TO
NAVIGATION MENU
RETURN TO
NAVIGATION MENU