<>"Build your own wind turbine"

Hands-on course building 2 wind turbines with Hugh Piggott and Conor Coady
10 - 14 September 2007
Main Gyreum course page
Blade carving page
Metalwork page
My courses page

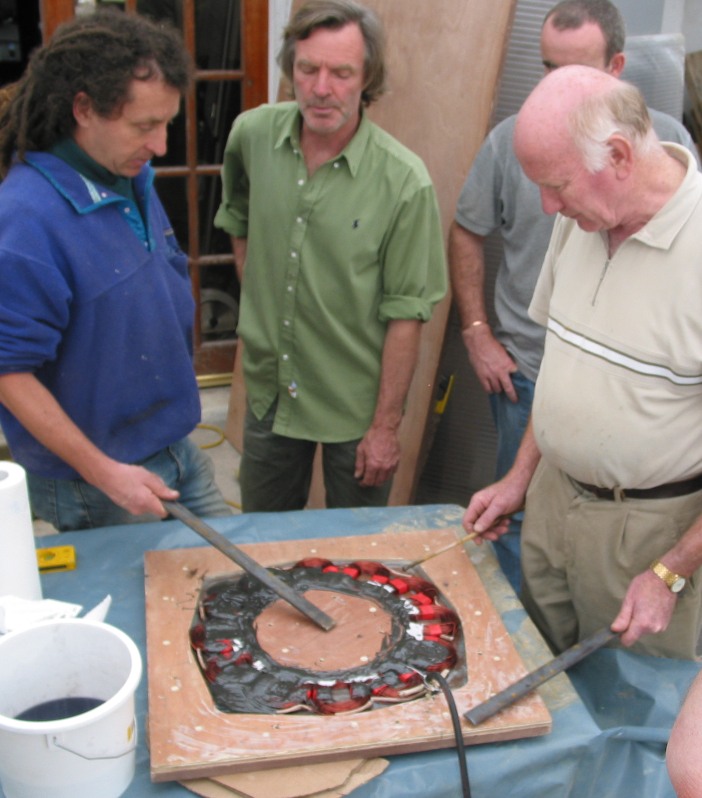
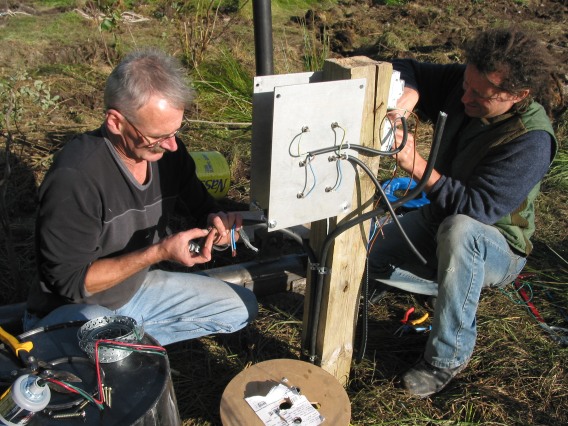
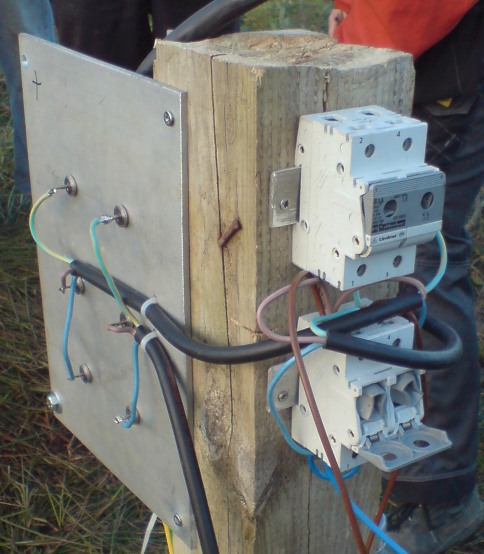
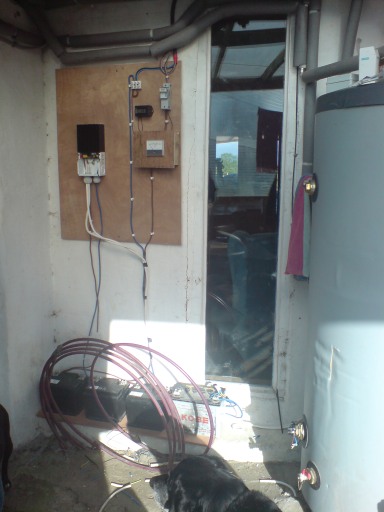
The Electrical department was at the back of the building


The coil winder

Niall and John preparing the coil winder.  The spacer needed to be filed down.

Rob and John working as a team.  Bernard works alone.


Magnet rotor castings

The saw makes a good parking place for magnets waiting to be used.  It is not wise to leave them lying on the bench.
Eddie fitting a magnet on the left.

John does a dry run assembly of the magnet rotor mould.  Micheal adds silicone around the edge as the resin pour progresses.


Stuart cleaning of the sheet of resin that overflowed the island.  It's worth cutting this carefully to avoid pieces breaking out, but the magnets are keen to grab the knife.  It actually helps to get the lid off before the resin sets hard, but this time it was a tough job.

Stator castings

James and Stuart mixing resin with talc.  We had a bit of a panic when there was no talcum powder and i thought I might have to do a casting without it.  I really didn't like the idea.  At the last minute John pulled a bag of talc out of his truck and saved the day.

Rob and Eddie bang the mould to make bubbles rise out of the resin.  Waiting for a mix.


Ger, Eddie and Bernard admire the result next morning.


Rob and Niall working on the stator for the small turbine.  Unfortunately nobody thought to do a dry run and it turned out that the lid did not fit properly.  The exit notch for the wires was at the wrong side.

Before anyone was really ready for it, the resin started to set, and the lid failed to completely compress the casting.  This stator will probably work OK because the magnets are stronger than I expected.  The spacing can be jacked out to make it fit.

Assembly

Niall, Rob and Eddie drilling out the stator mounts.  The stator was drilled first and then positioned centrally on the frame.

Building up the alternator.


We found that the magnets were very strong so we had to increase the air gap to about 7 mm each side of the stator to get the right speed and avoid stalling the blades.  I could have used fewer turns per coil had I known they were grade 50s.

Wiring it up

Each turbine will have 3-phase output.  The rectifier assembly is on a fence post at the tower base.  It consists of two heat sinks - a positive one and a negative.  Each heat sink has 3 diodes for each turbine.  Here is Niall soldering on the leads.

John wires the main DC cable while Rob works on the brake switches.


Here is the wiring diagram of the system.  It's  bit odd.  We are running a 48 volt battery charging system but the main objective is to heat the hot water cylinder so the batteries themselves are quite small.


On the left below is the tristar controller.  Meters and fuses centre.  Batteries below...  Hot water cylinder on the right.  There are 48-volt immersion heaters in there.   Later there will be a thermostat, and a transfer relay, so that the heat can be redirected to space heating.


Main Gyreum course page
Blade carving page
Metalwork page
My courses page