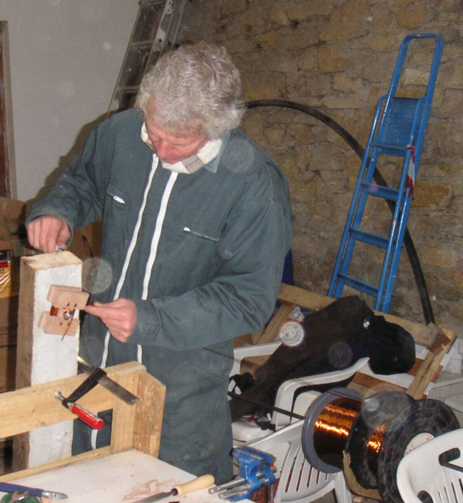
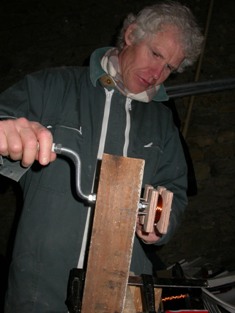
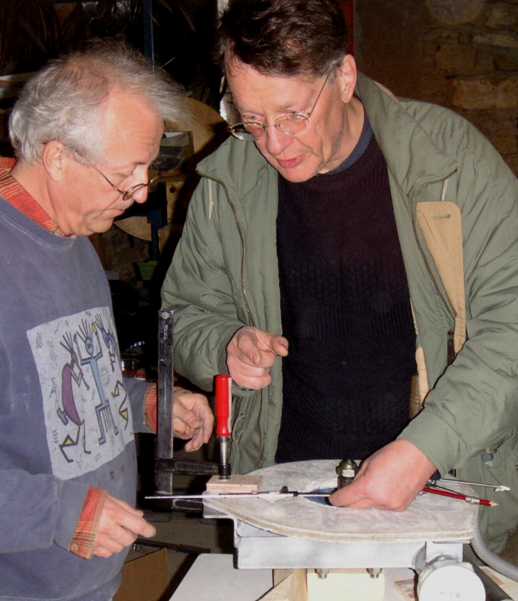
 Yves making the coil winder.
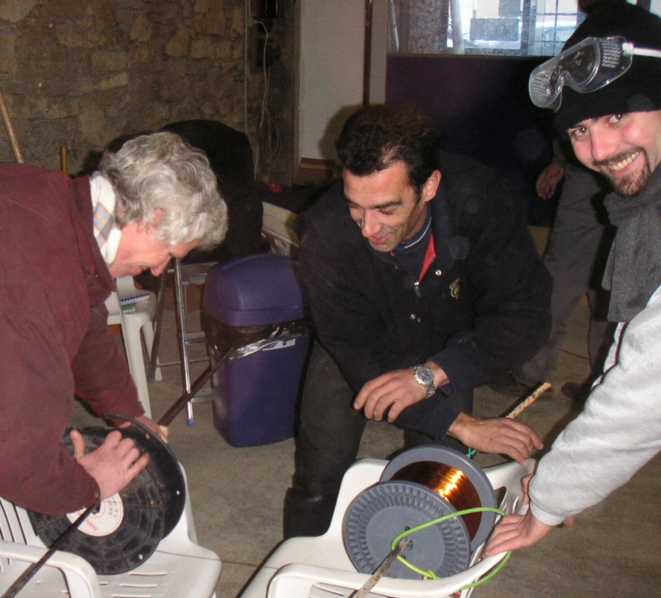

We had to transfer some of the wire to another reel because we were
winding with two wires in hand.
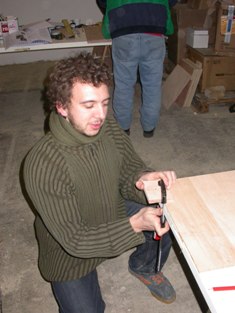
Frederick winding coils
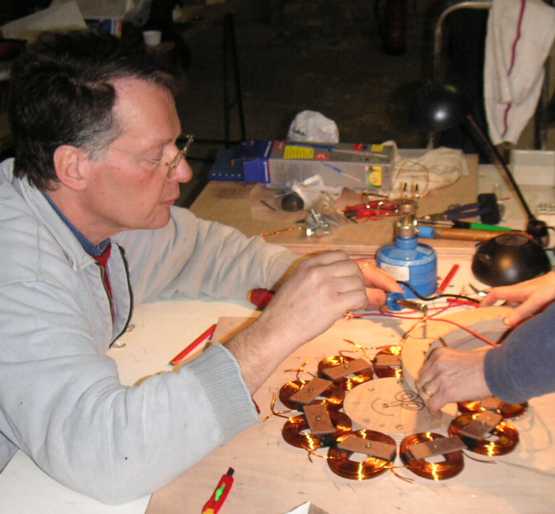
Benoît soldering the wires.
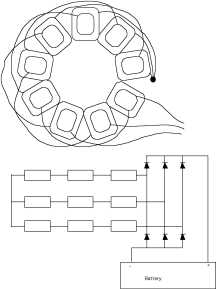
We used a series star connection with a 3-phase output. 3 wires
down to the rectifier at the battery.
Benoît and Giorgio soldering. We did have some problems
with the solder wire at first. It would not run onto the wires.
I don't think it had any flux in it. Later we got the right stuff
and things went smoothly again.

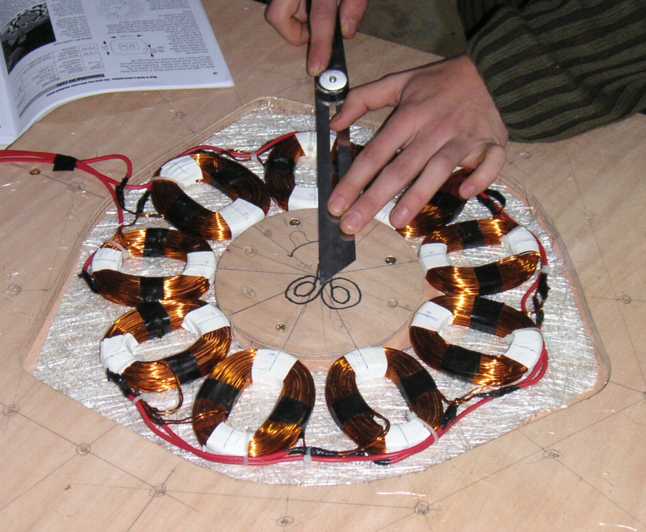
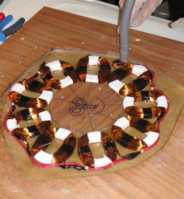
A new technique for positioning the coils accurately. There were
spaces between the coils and we wanted them to sit precisely. A series
of centre lines were drawn on the island and also on white tape on the
coils. When in the mould, these could be lined up to ensure correct
positioning.
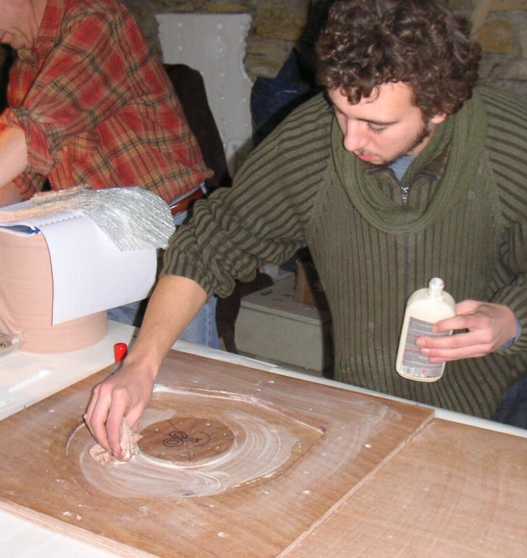
Yves puts polish on the mould. The polish was a liquid and the
results were not great. A wax polish is better.

A new technique to place the magnets gently. Put a plastic spacer
(supplied with the magnets) underneath and then pull it out so the magnet
snaps down.
Dan Bartmann tells me he applies the glue afterwards rather than under
the magnet.
I prefer under the magnets, but I don't like it spraying out when the
magnet snaps in.
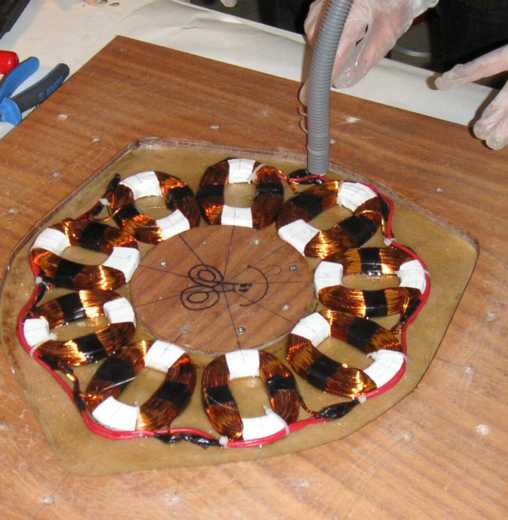
The coils in the mould. Note the neat wiring exit using flexible
conduit to protect the wires.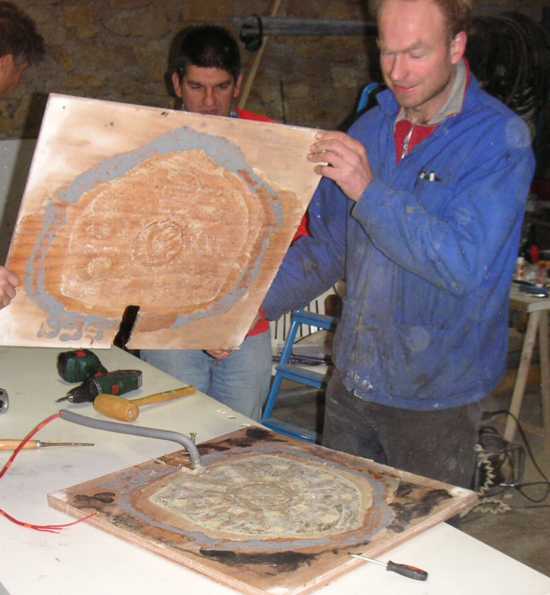
Joris takes the lid off. A successful casting but very poor surface
finish.
I believe this was due to the liquid polish, but it might have been
excessive heating of the casting. I cooked it over a heater overnight
to make sure it set well.

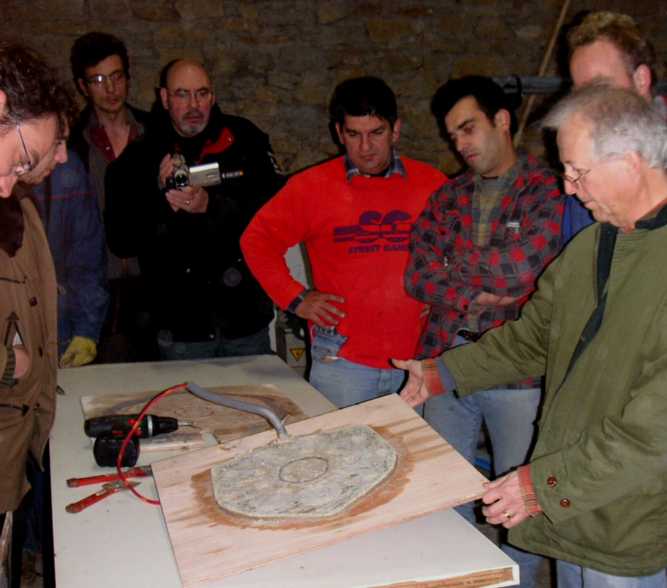
Joël clearing the surplus resin off the island. It certainly
had set hard.
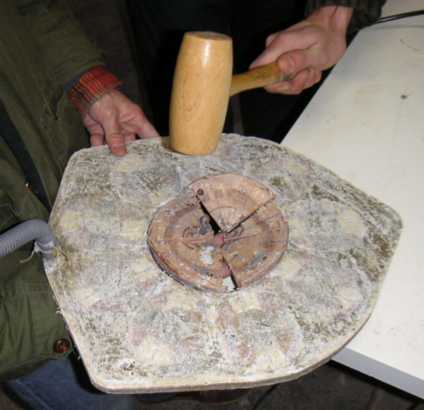
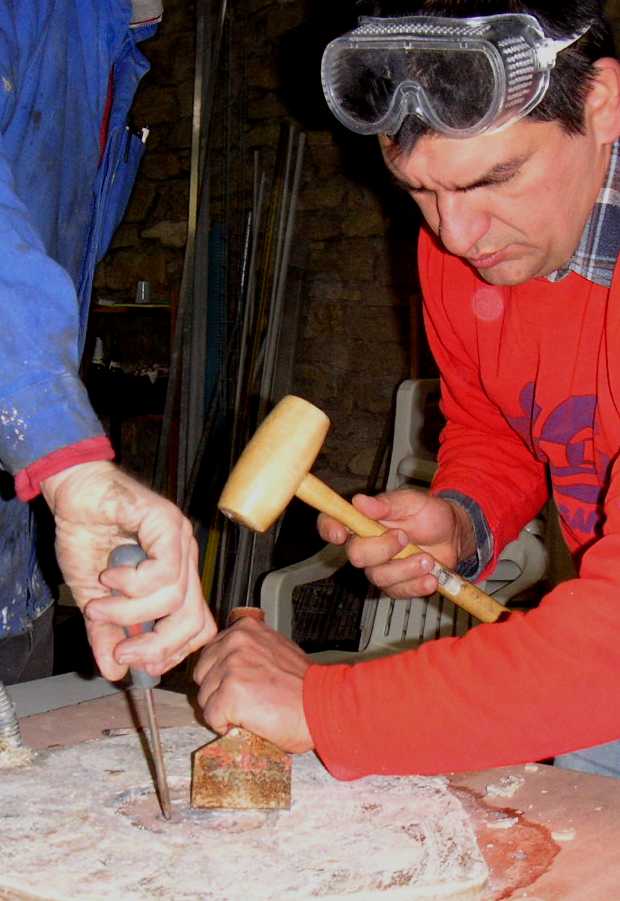
Removing the island (in pieces!)
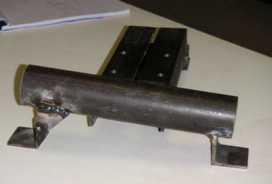
Benoît and Giorgio working on the centring of the stator on its
lugs.